 This is the drawing tree for the Sonex Aircraft. Your start at a branch on the bottom and work your way up. When all the branches of the drawing tree are complete, your airplane is also complete.
 These are the wing skins and as you can see, they are pre-drilled for assembly with the ribs and spars. The holes are actually undersized, so Clecos can be used for temporary assembly, then the holes are drilled to the right size and blind rivets are installed. The pre-drilling for the rigging is a incredible time saver.
 Rudder hinge detail


 The gear legs are titanium. Phil said they were a bit tricky to drill to install the retaining bolts.
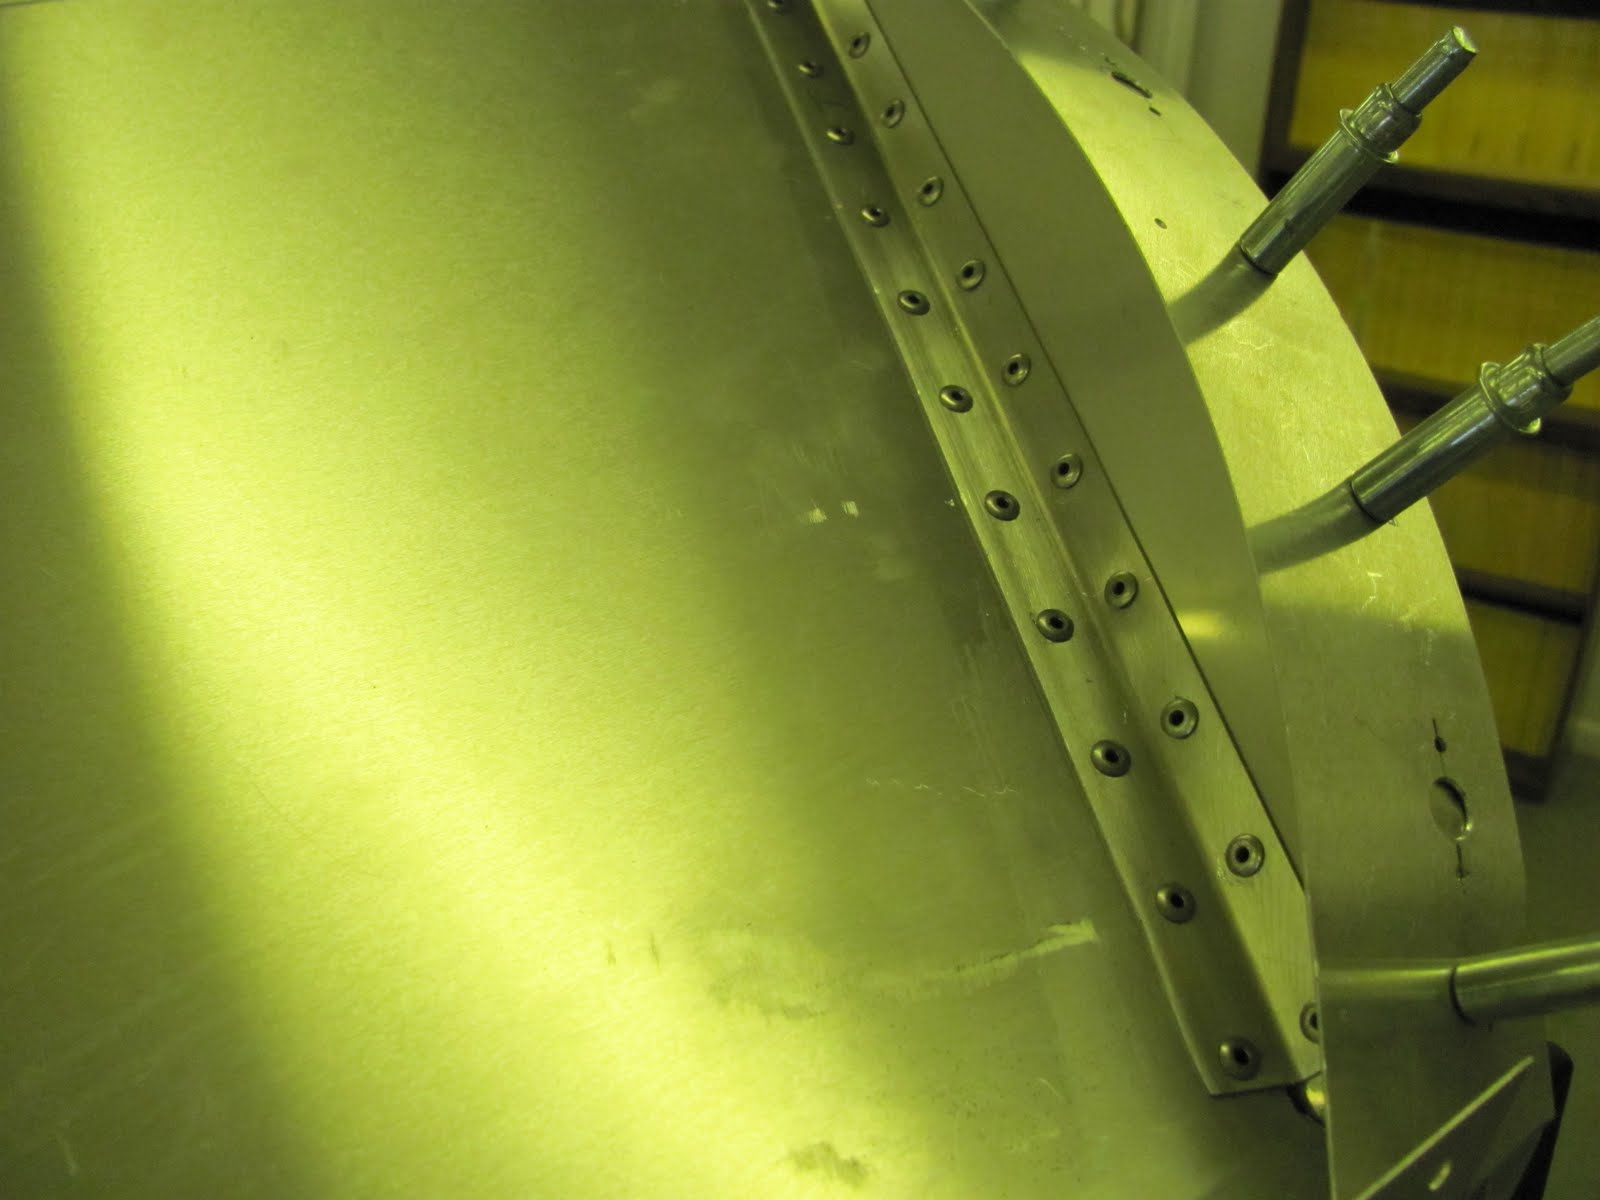
 This is the one piece, roto-molded fuel tank.
 Engine cowling halves

 The cylindrical copper colored devices are Clecos - basically a temporary clamp that holds multiple pieces of sheet aluminum in place via the rivet holes. These align the parts while the holes are being drilled to the correct size and rivets are being set (installed).
 The tailwheel is basically a grocery cart wheel - functional, light and cheap.


 This rectangular cutout is where the wing spar passes through the fuselage.
 The rudder pedals ride on a phenolic bearing block for low friction and long life.

 Wheel pants

 The tail gear rod is also titanium.
 Elevator trim tab
 Phil, a builder in Logan showed me his Sonex project this weekend. He has completed most of the fuselage and tail and now is going to start on the wings.
I am very impressed with the whole Sonex aircraft. It is very affordable, relative to all the other Light Sport Aircraft- about $26,000, including the Aerovee engine (A VW derivative).
The kit is very complete and the skins are pre-drilled to allow assembly with Clecos. Then, the undersize holes are drilled out and blind rivets are installed. These are visible in all the photos shown here.


